Working with EM Builder
To flatten your learning curve, we'll work exclusively within the VS Code environment – using the EM Builder extension which you've already installed. Besides introducing some core capabilities of the extension, the material that follows will also verify the integrity of your installation.
But what about the command line ???
Strictly speaking, we don't need VS Code to develop EM software: you can create folders / files as you always have; you can create / modify .em sources in your favorite text editor; and you can build / load executable EM programs using the em-cli command-line interface. The implementation of EM Builder and em-cli, in fact, share quite a bit of common code – with the former often invoking the latter. The Command-line inteface reference material describes the em-cli tool in greater detail.
Workspace organization
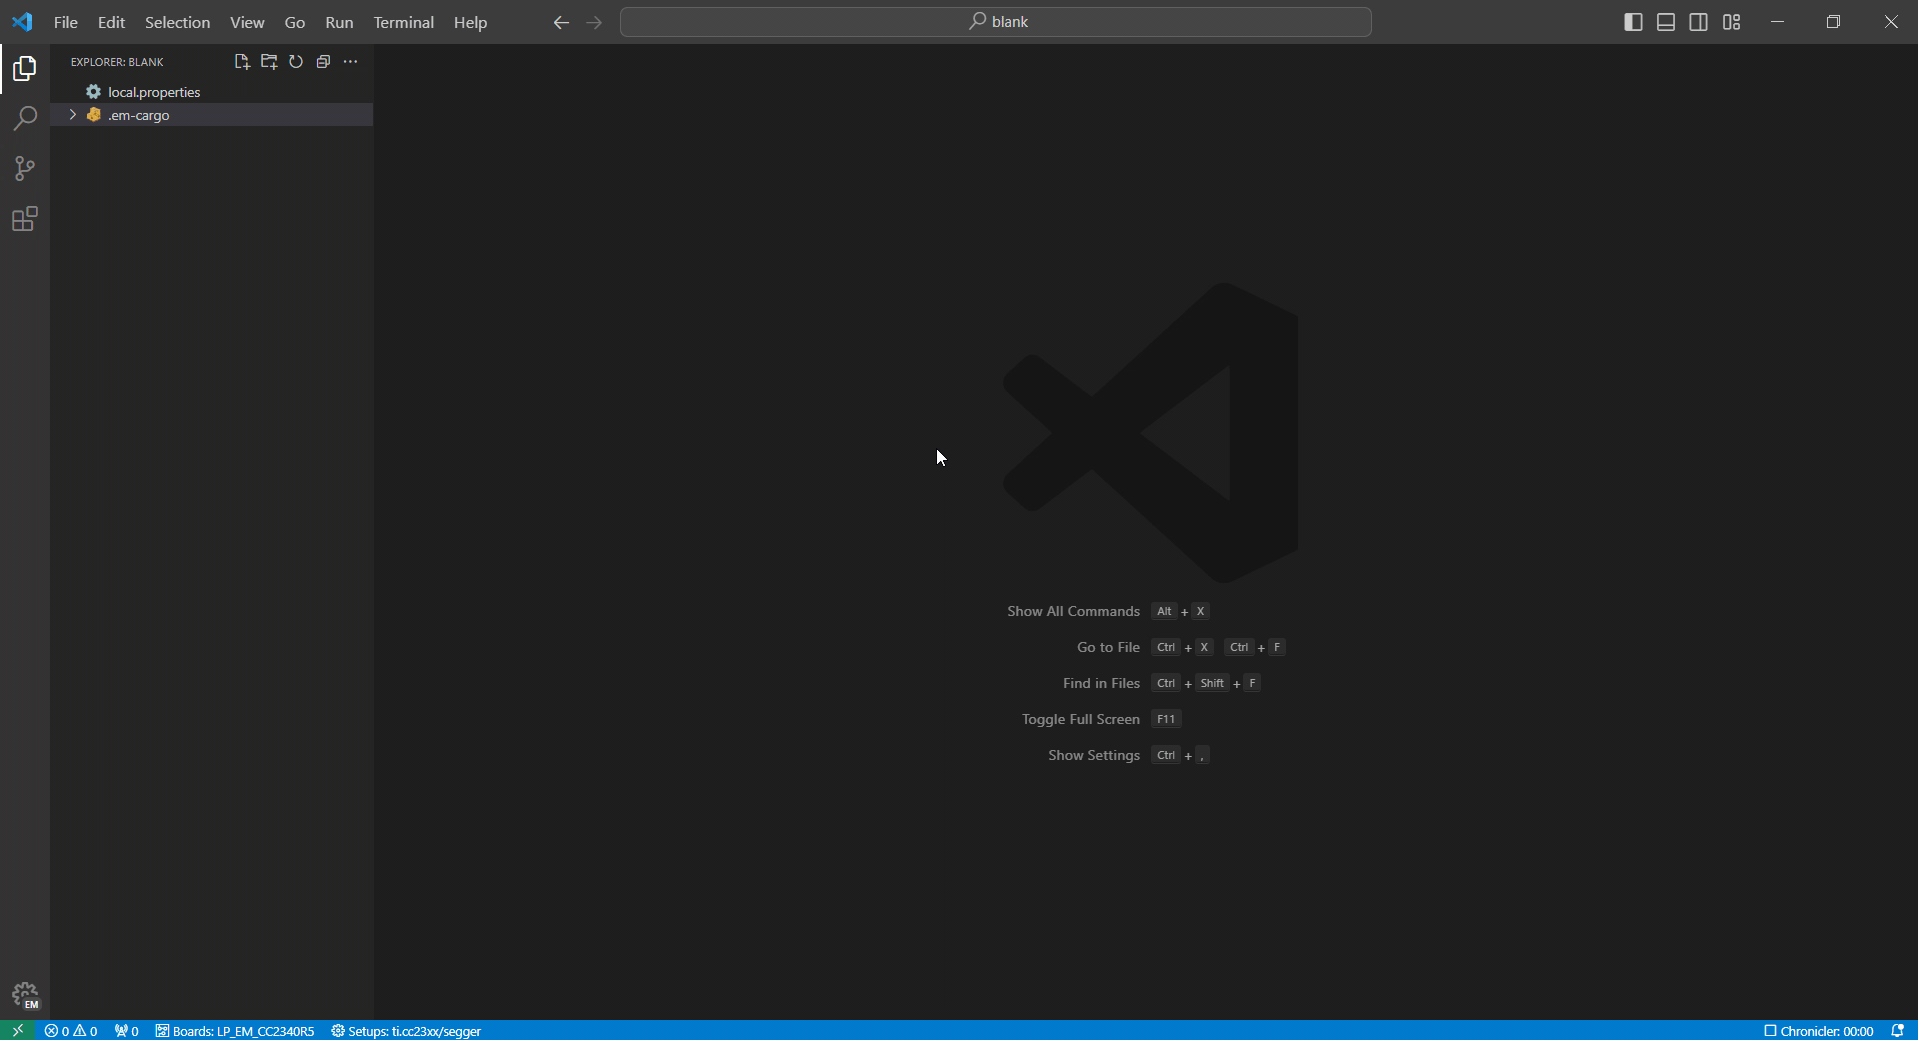
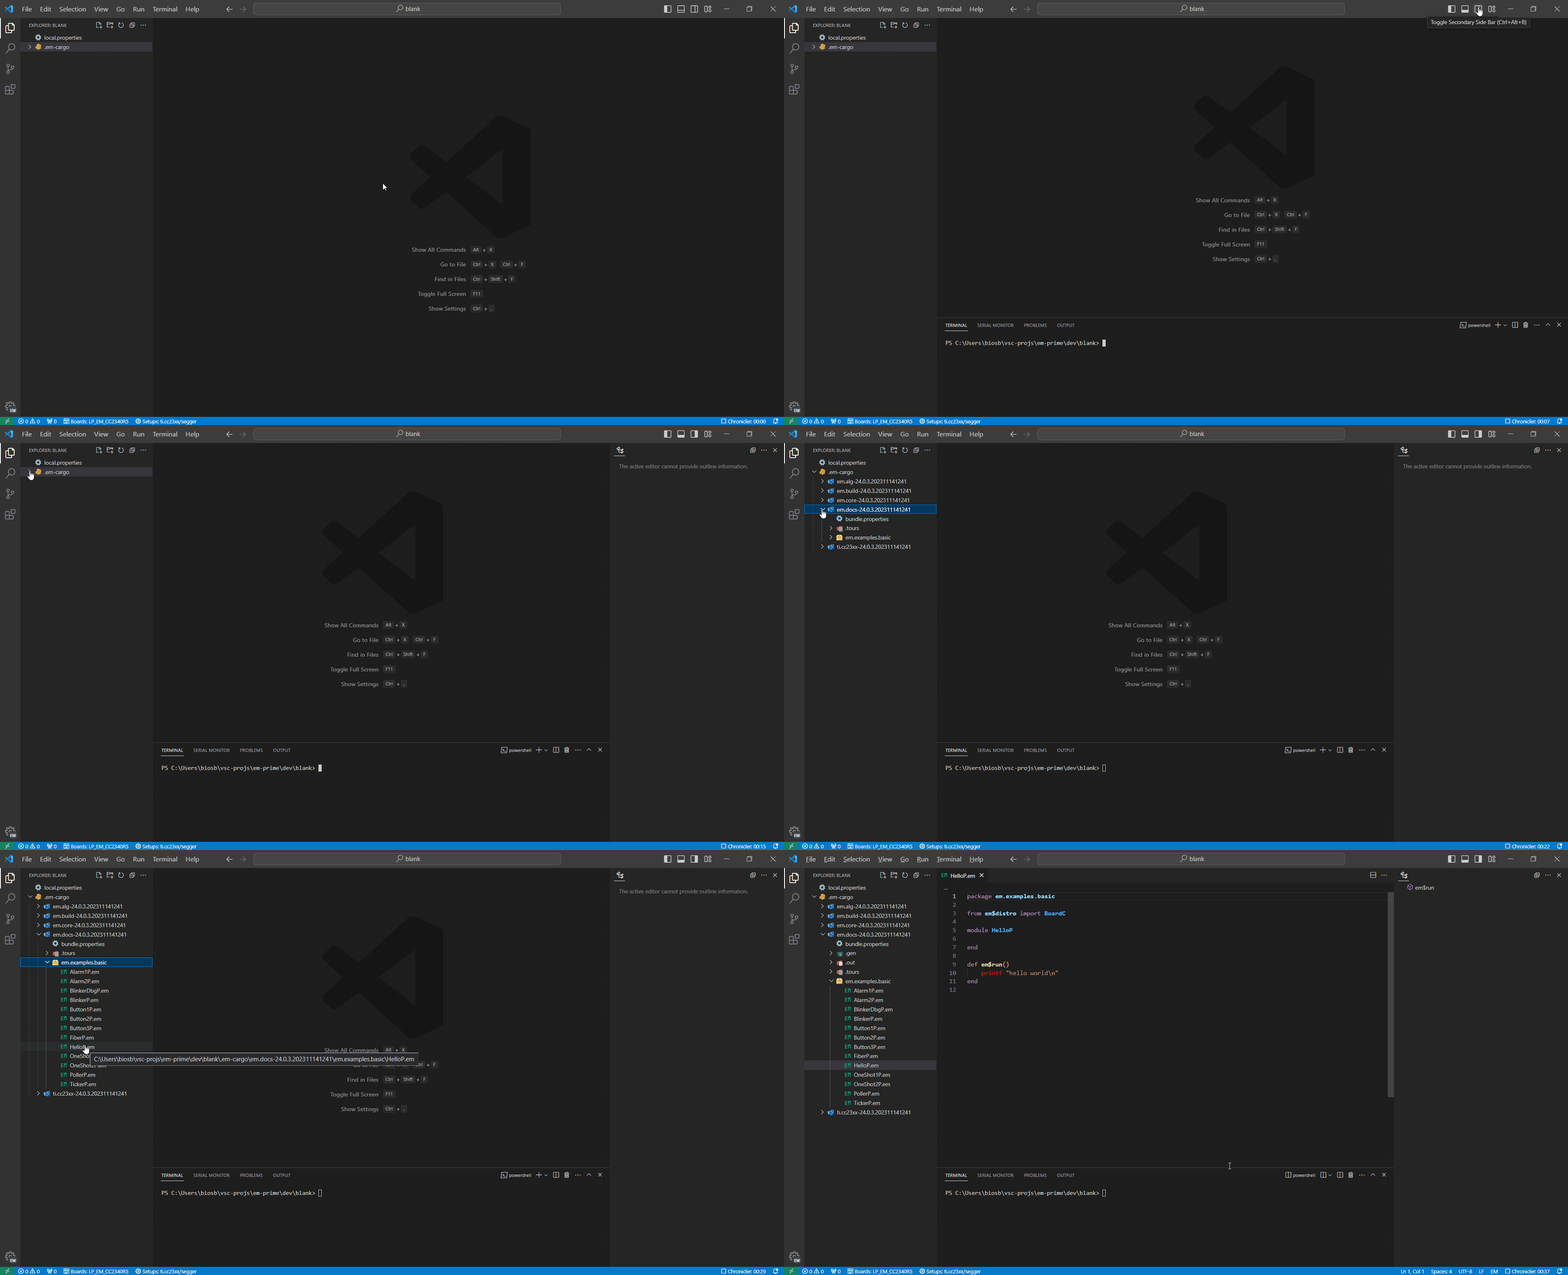
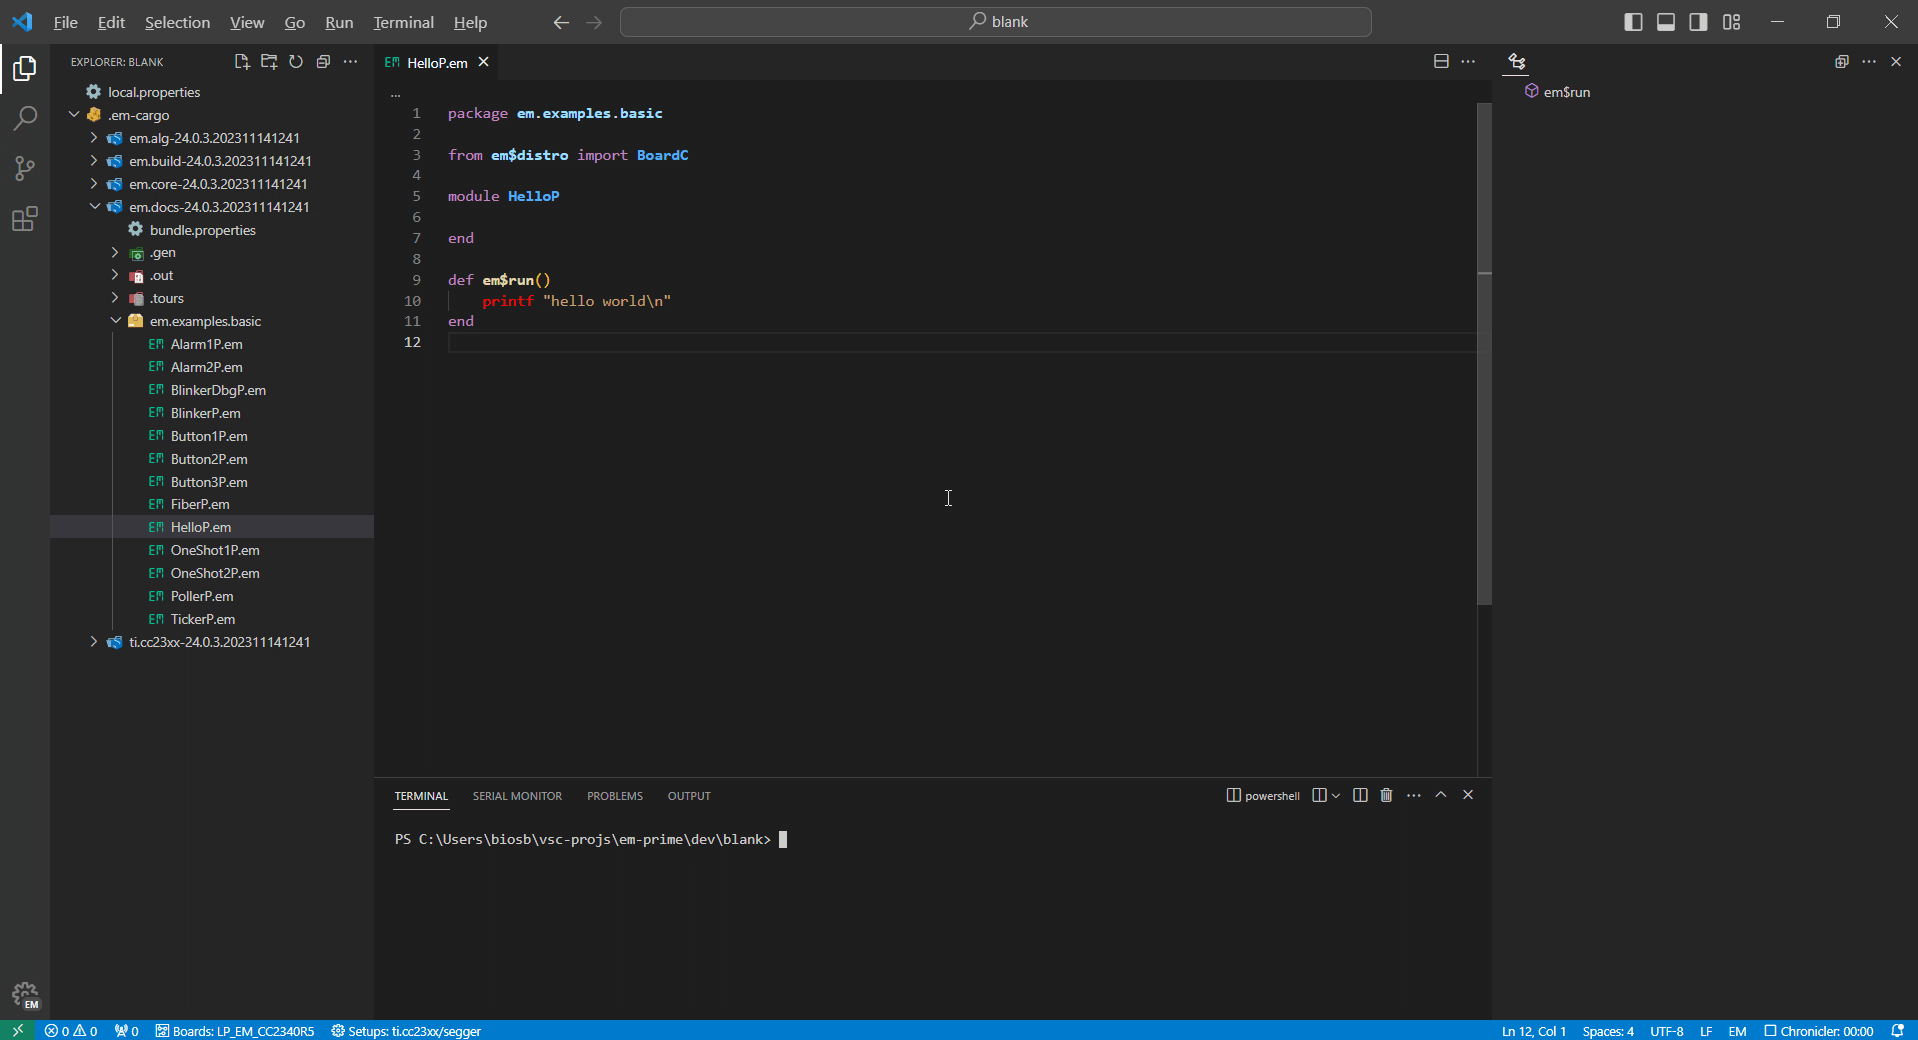
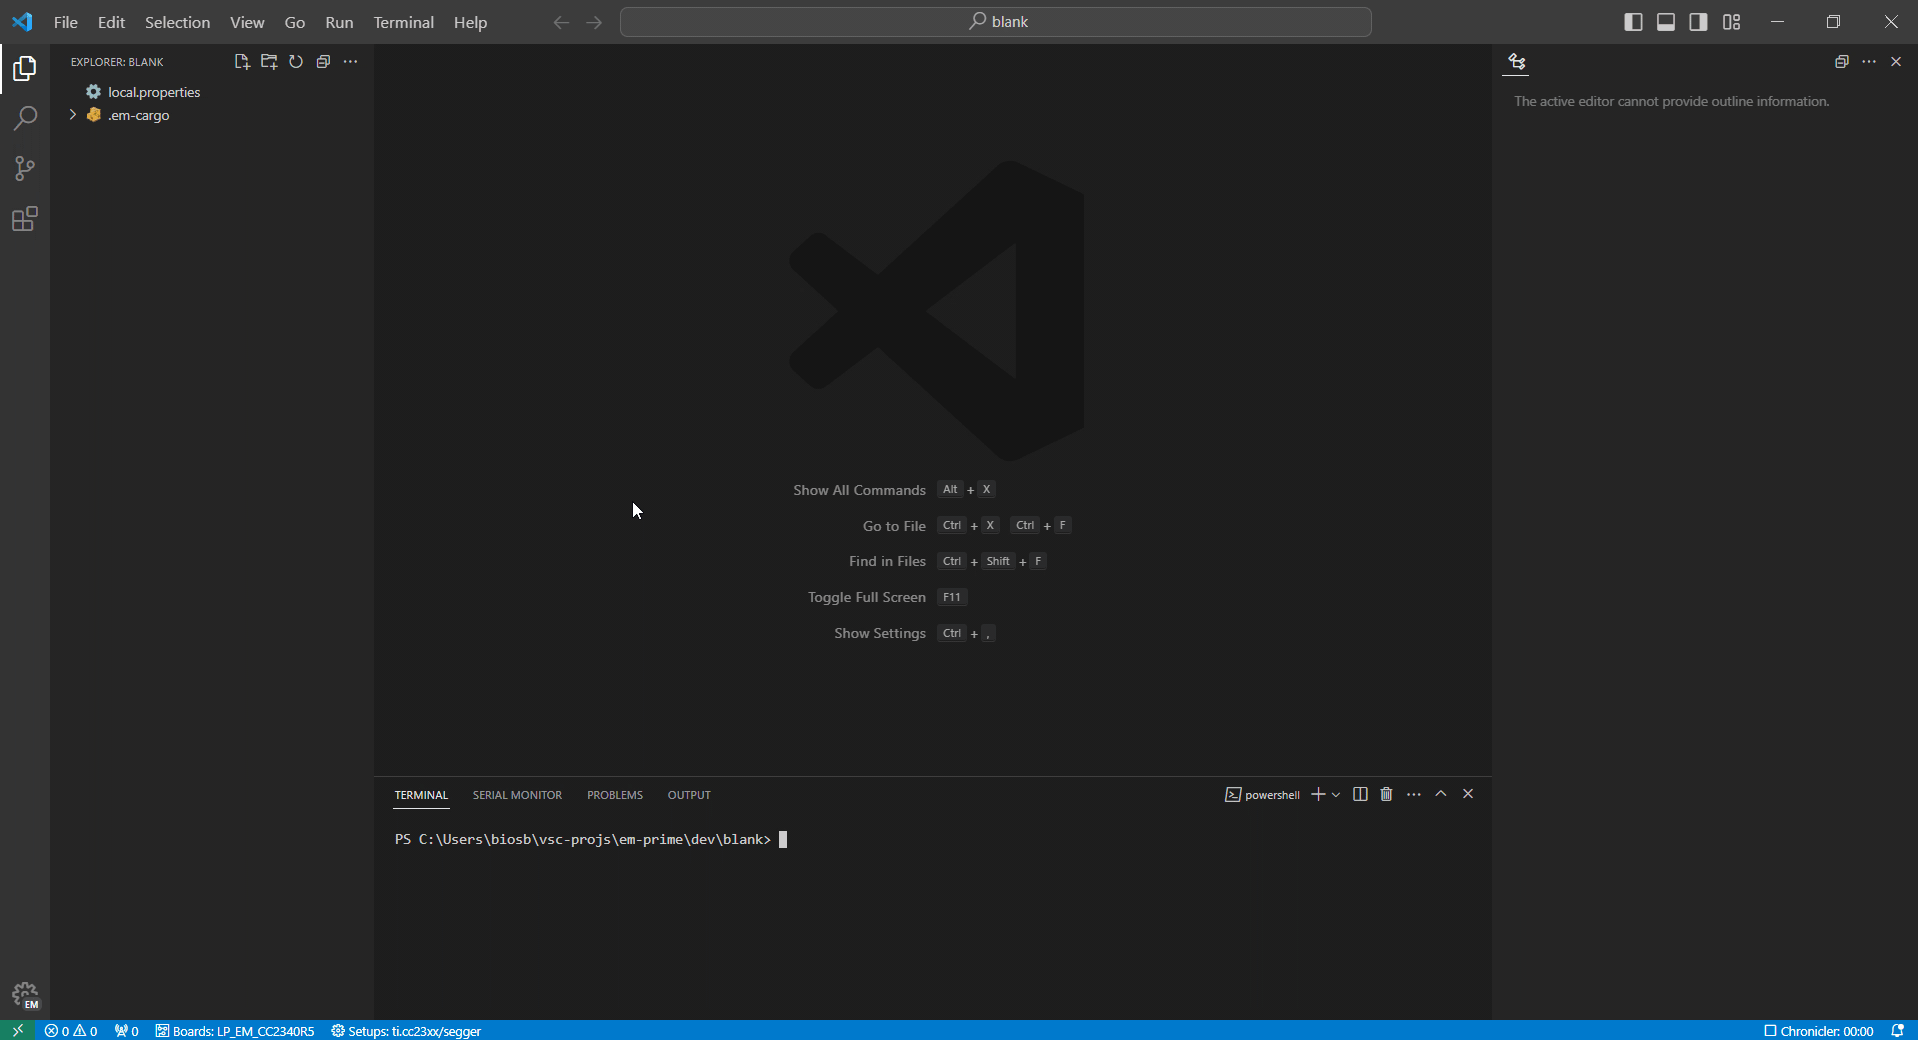
The following animation illustrates the overall organization of your workspace folder when using the EM Builder extension, and picks up from where we left off when Installing EM. We also encourage you to launch VS Code by entering code workspace from your PC's shell, and to simultaneously explore this environment at your own pace.
Building EM programs
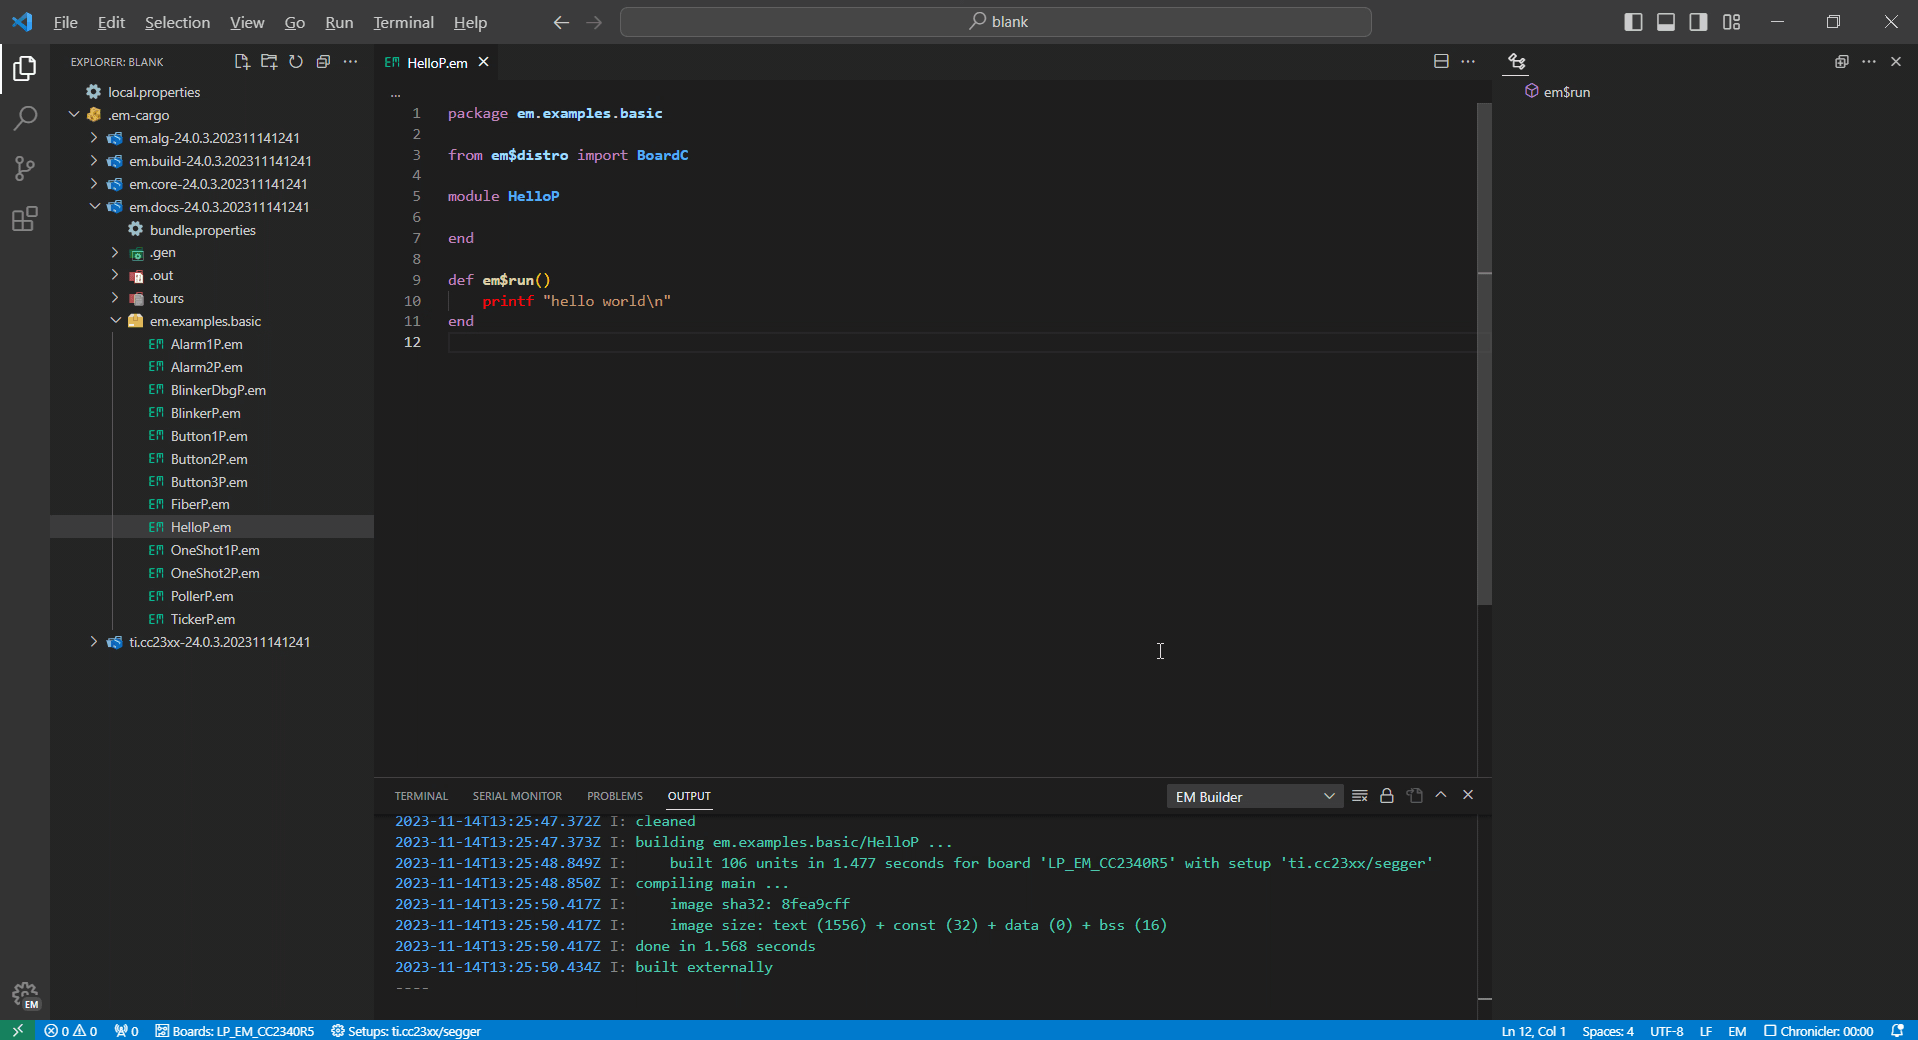
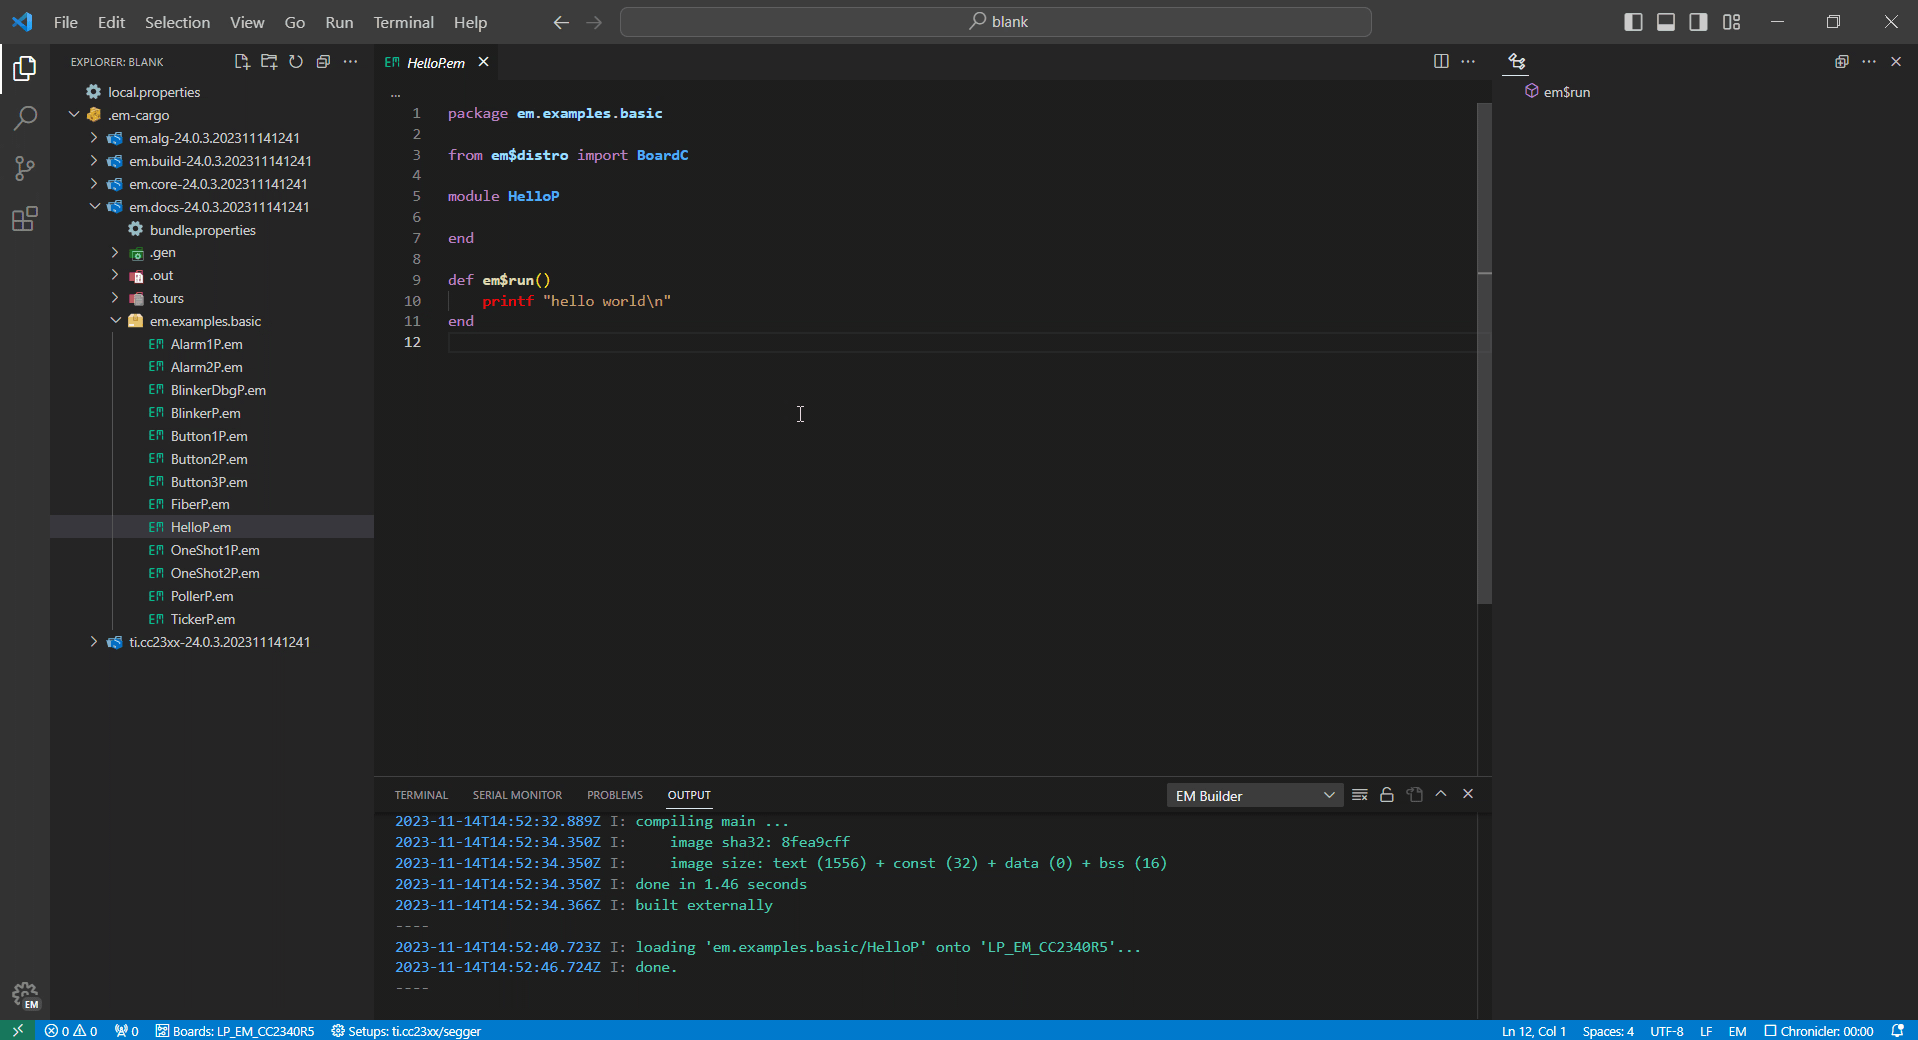
The following animation illustrates how to build HelloP.em using the EM - Build command, selected from this file's (right-click) context menu. Since this program contains a main em$run function, the EM translator produces a corresponding executable image; see the OUTPUT panel for details.
Loading EM programs
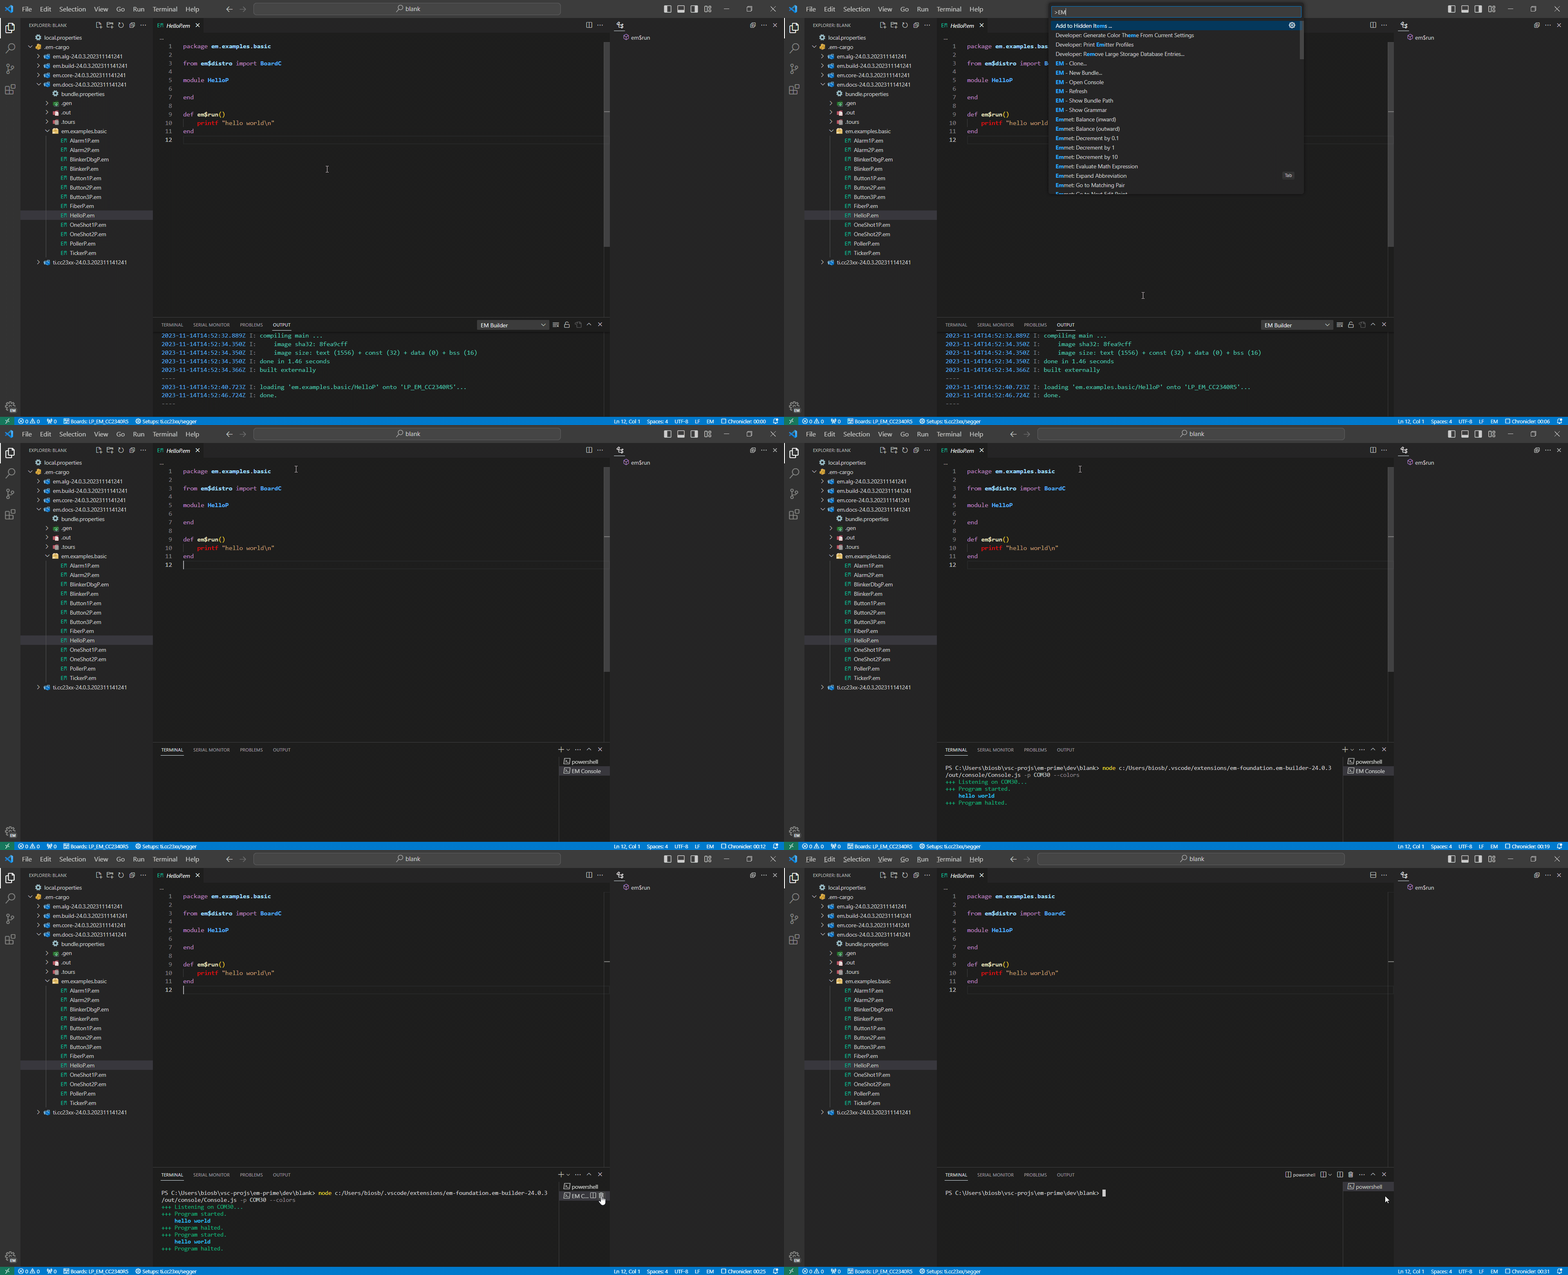
The following animation illustrates how to load the previously-built HelloP.em program using the EM - Load command – also selected from a context menu. Should loading the executable image fail for some reason (eg, you don't even have a target board), an error message would appear in the OUTPUT panel.
Monitoring EM programs
The following animation illustrates how to monitor any printf output from the currently loaded program image, by invoking EM - Open Console within the VS Code Command Palette . Once the special TERMINAL panel has launched, press the RESET button on your target board and enjoy the show !!!
Creating EM artifacts
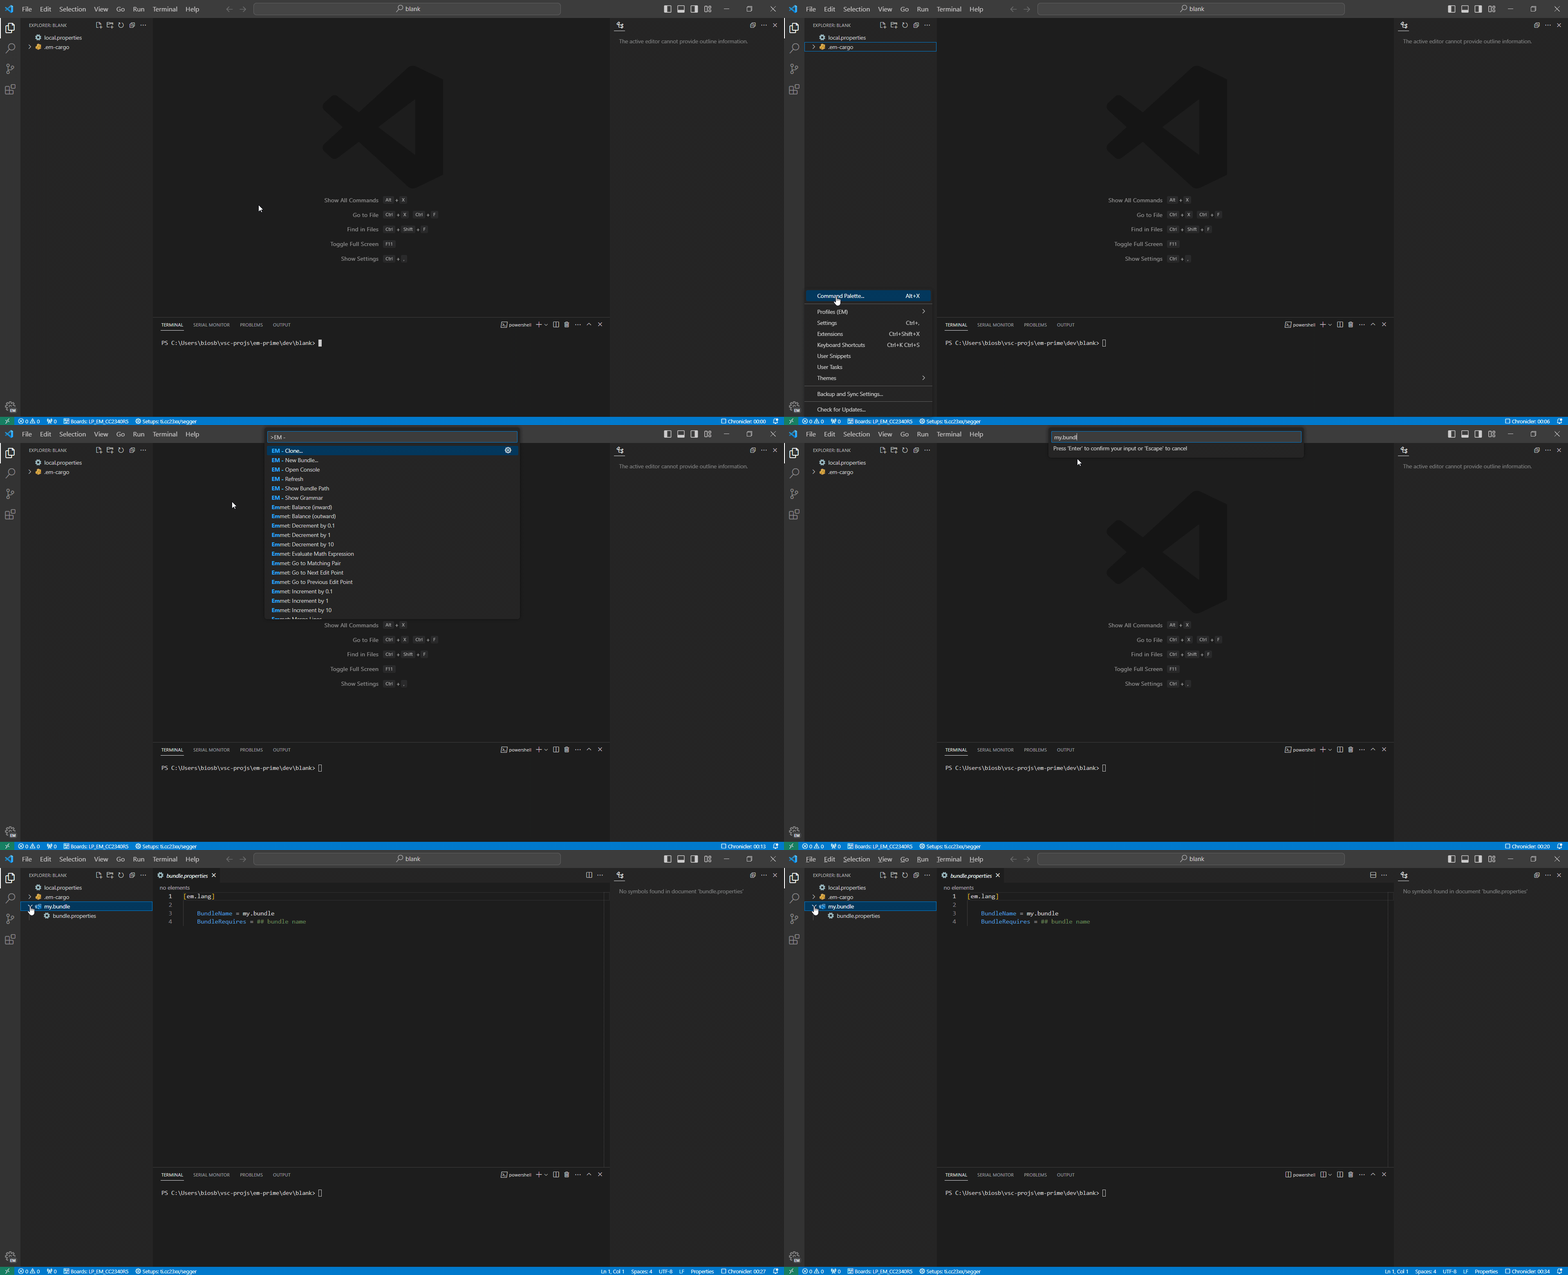
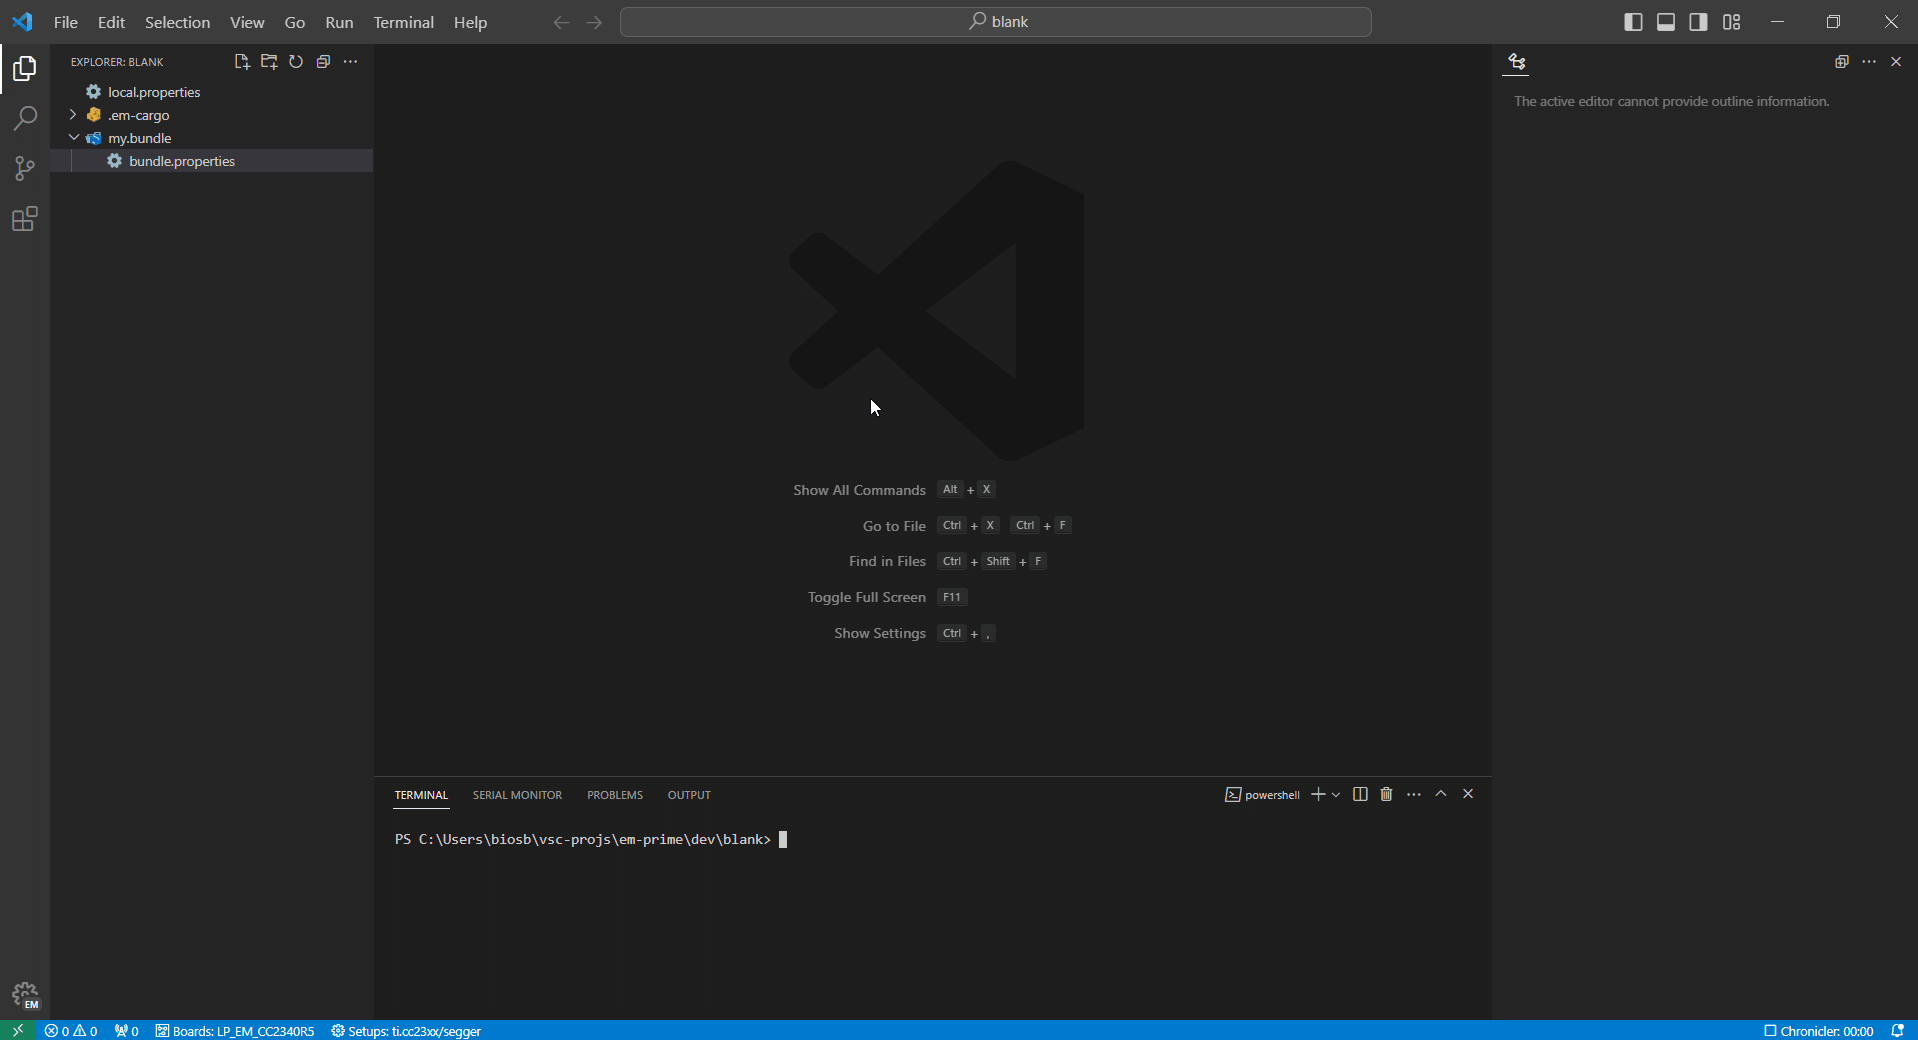
The following animation illustrates how to create a workspace bundle using the EM - New Bundle command, likewise found in the Command Palette . In this case, we've named the new artifact as my.bundle; the remainder of this document will often refer to this folder as your "personal" bundle.
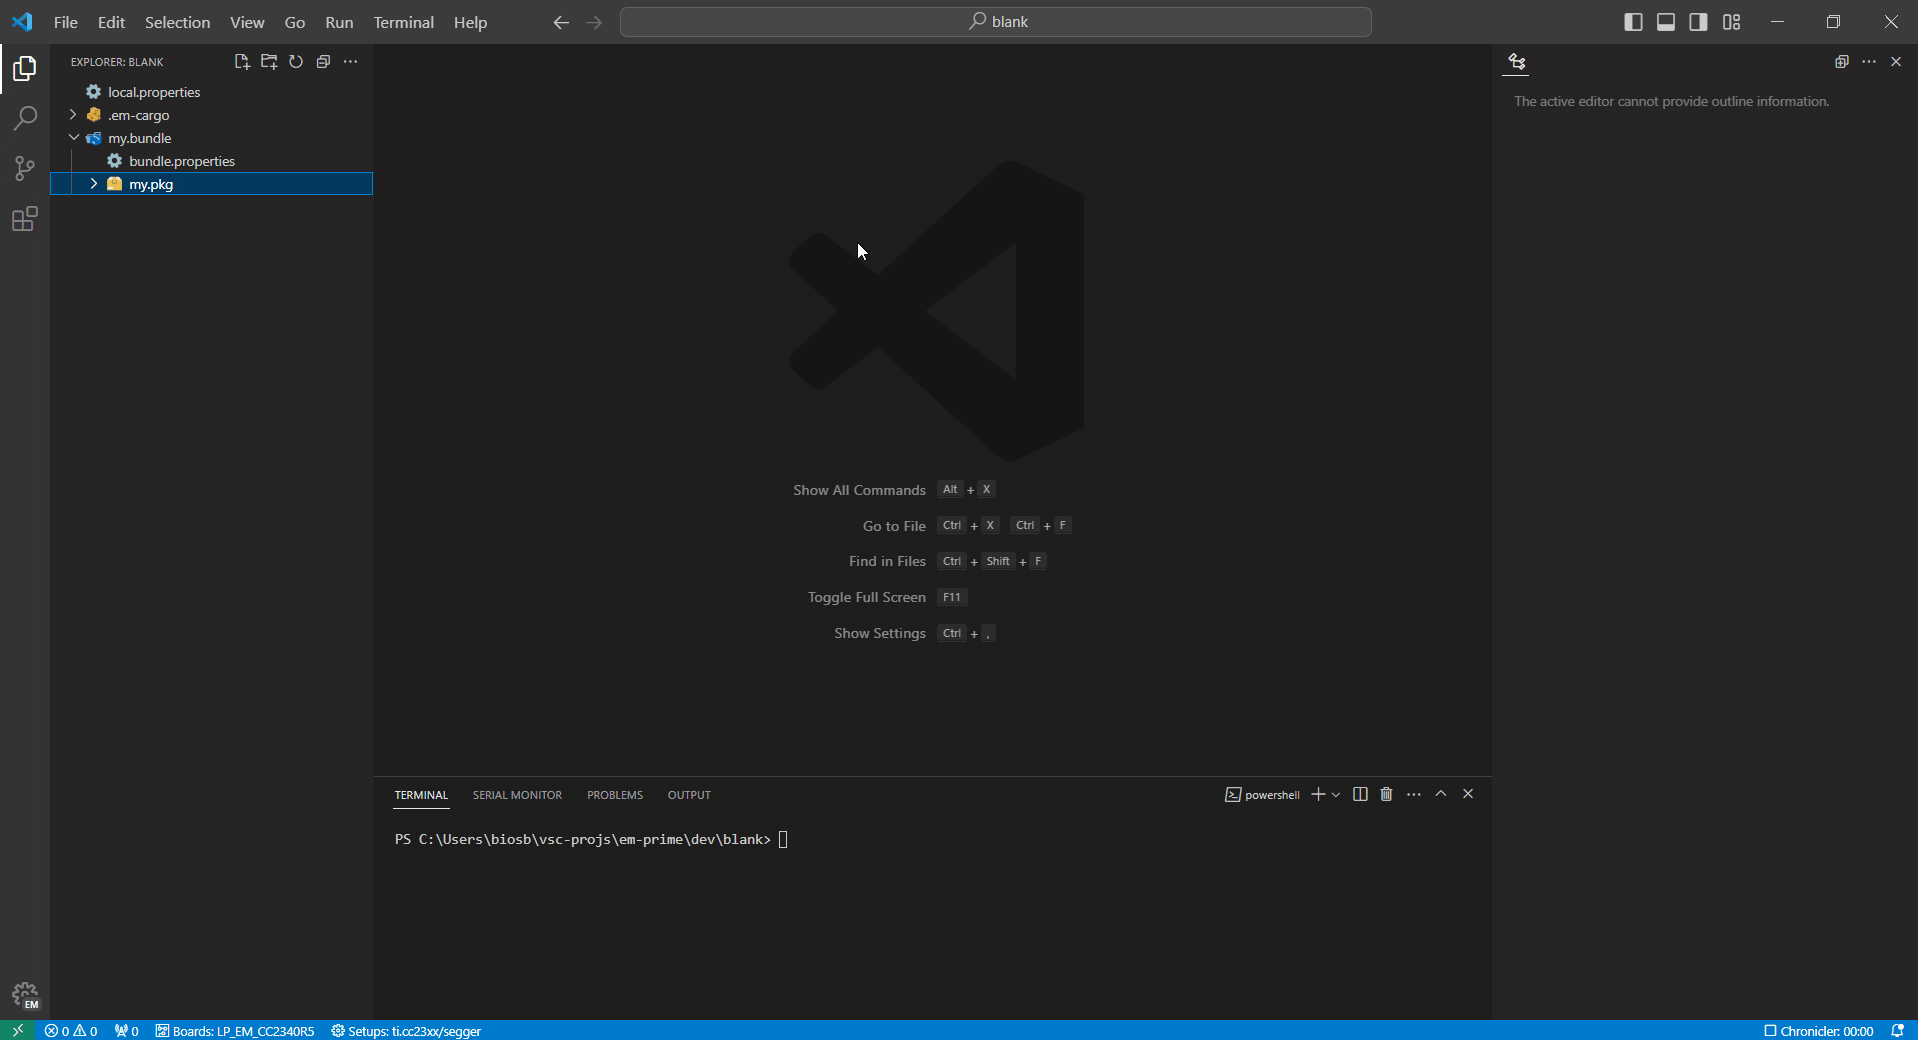
The following animation illustrates how to populate your personal bundle folder with other EM artifacts – packages, modules, interfaces, etc – created using commands selected from the (right-click) context menu of the containing folder. In this case, we'll invoke EM - New Package followed by EM - New Test Program to create a unit named my.pkg/Test.
Cloning EM cargo
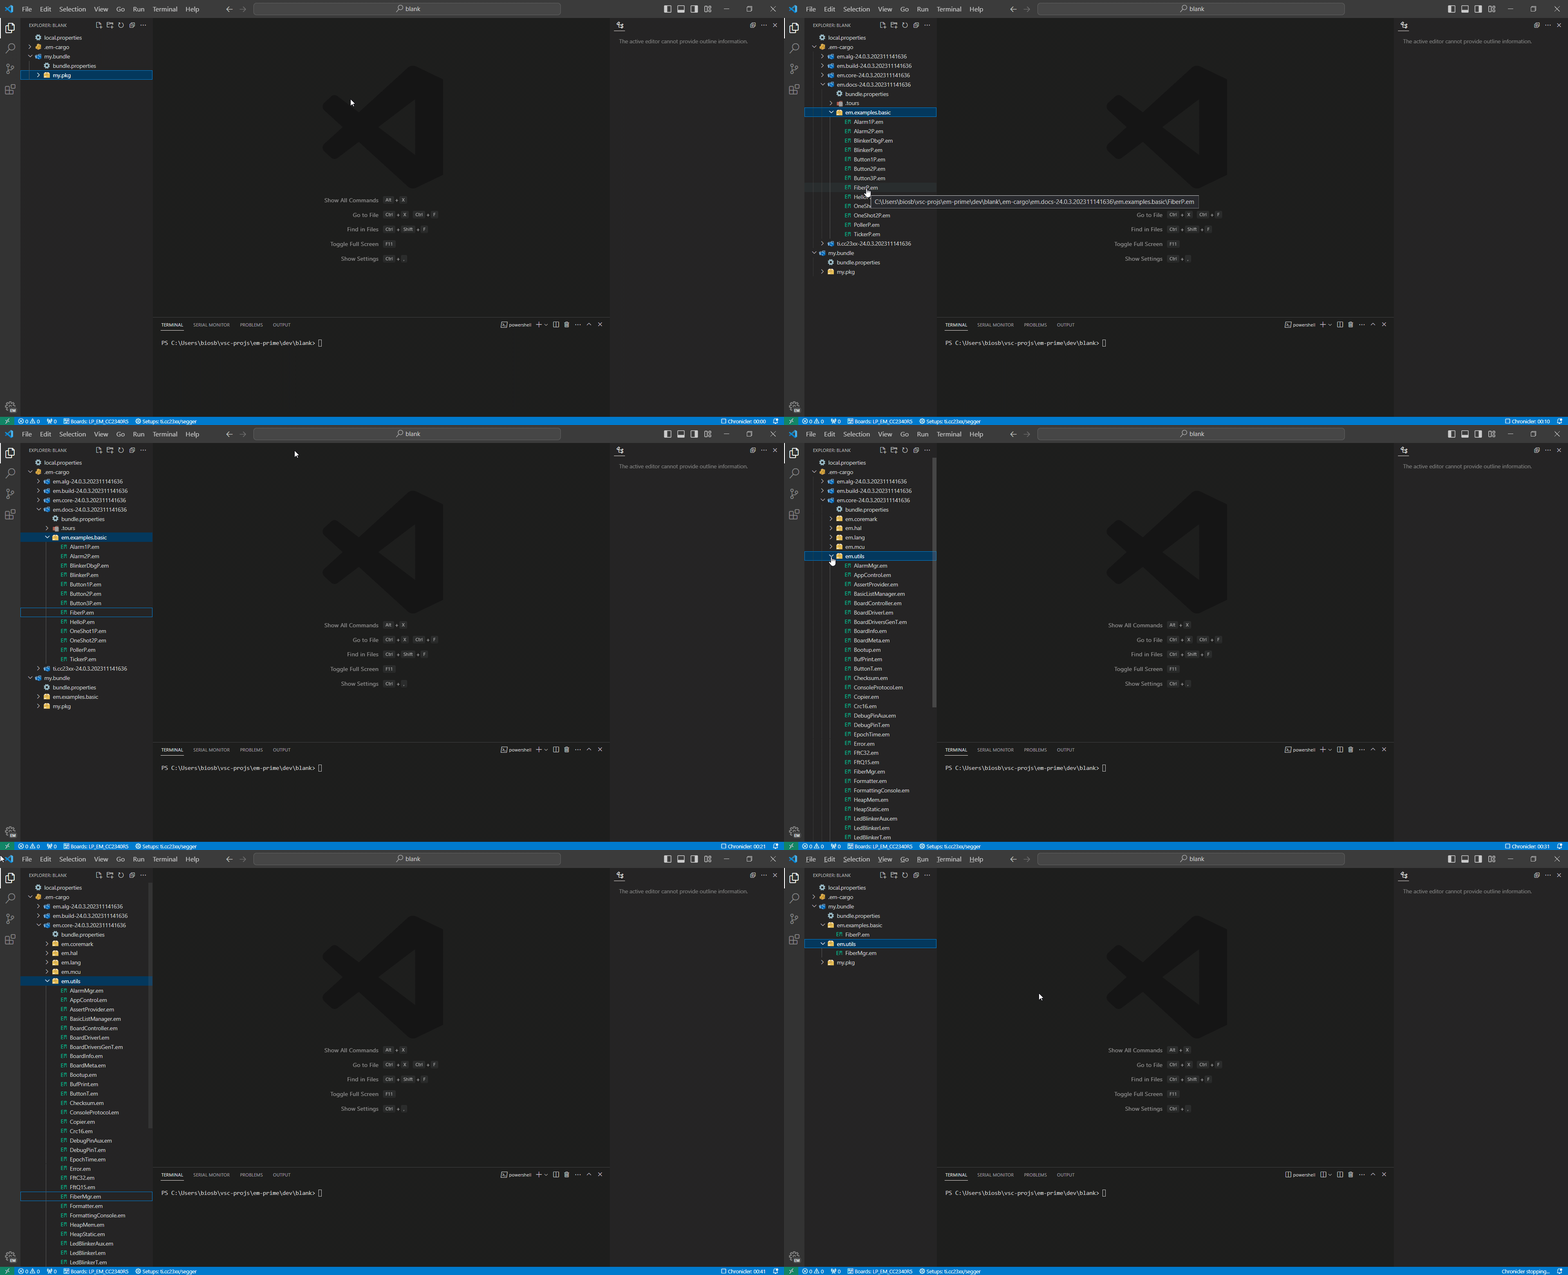
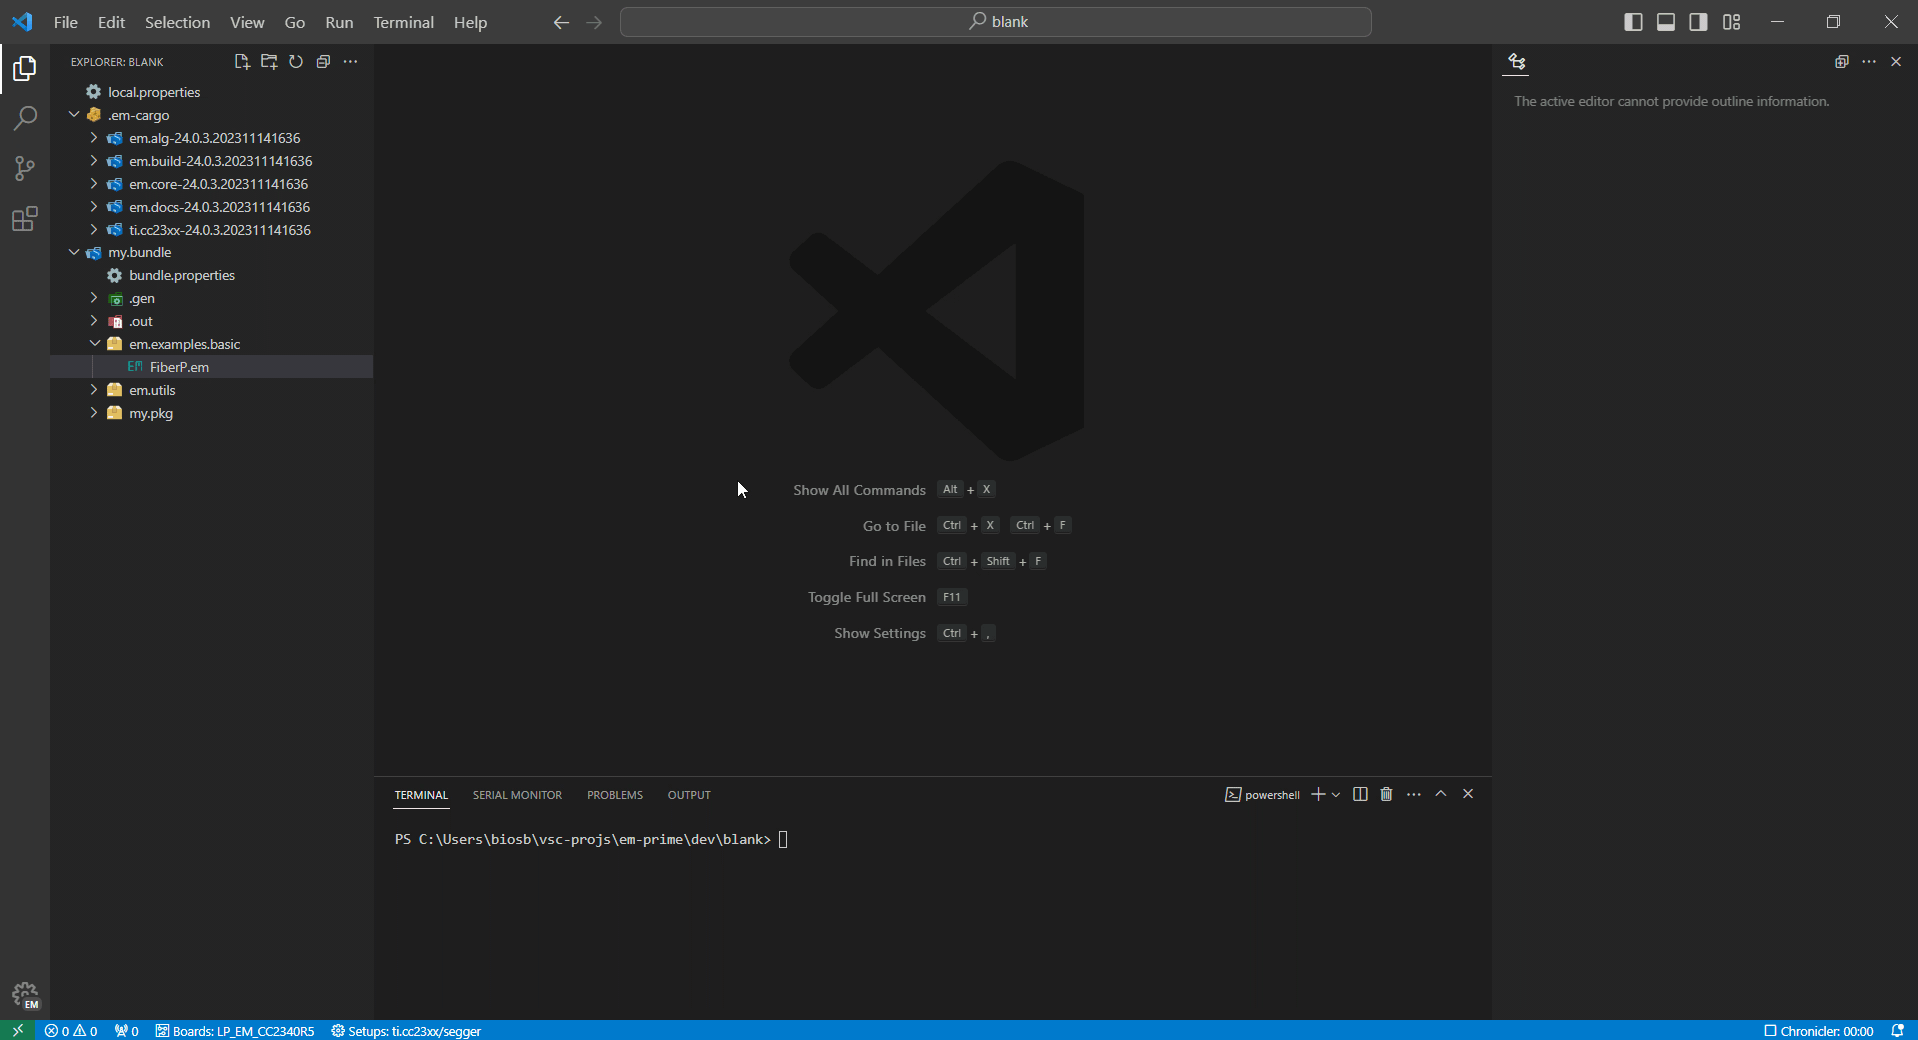
The following animation illustrates the EM - Clone command, used to populate personal bundles with runtime content delivered by the EM Builder extension and housed under the special .em-cargo folder. In this case, we'll first locate em.examples.basic/FiberP and em.utils/FiberMgr under .em-cargo and then clone these units into my.bundle.
Exploring EM sources
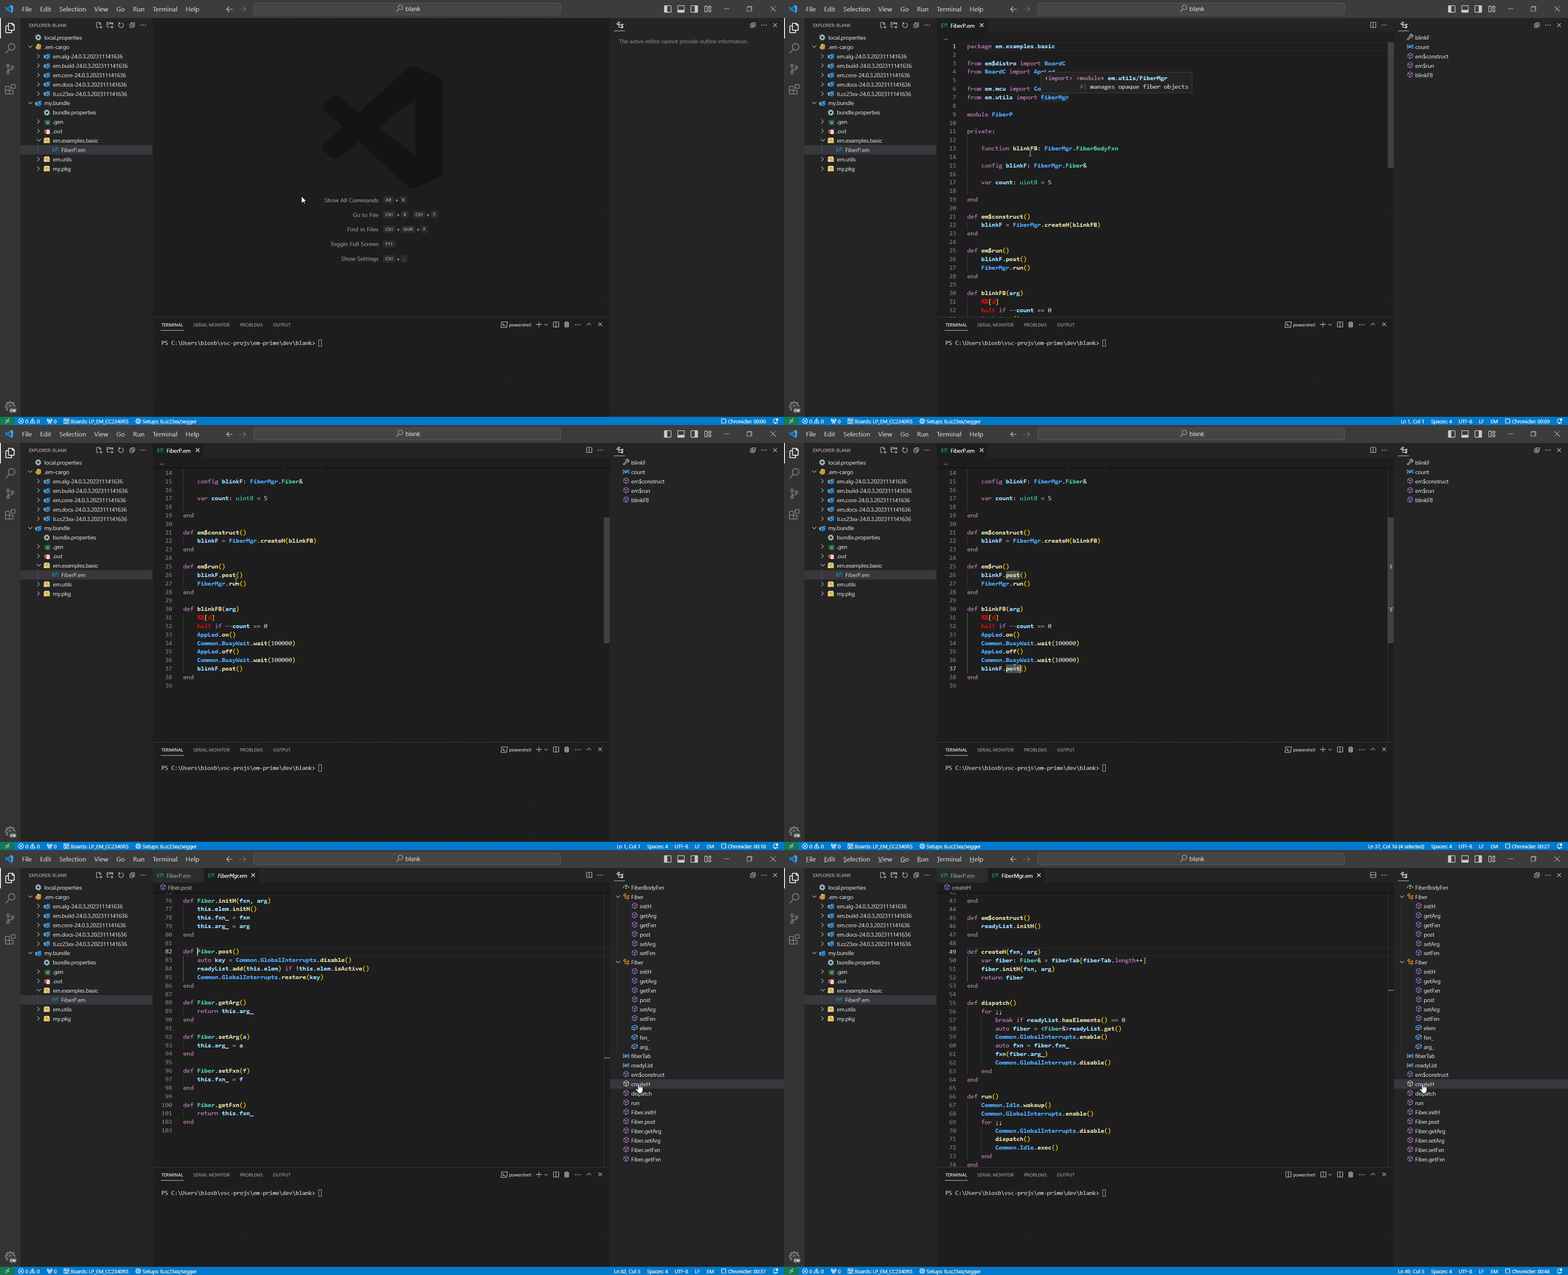
The following animation illustrates a few of the VS Code language features supported by the EM Builder extension. In this case, we'll hover over EM identifiers and jump between .em source files; we'll also use the OUTLINE panel to navigate amongst the declarations / definitions contained within individual EM units.
While these capabilities prove helpful when exploring EM source code, the EM Builder extension also provides support for "smart completion" (IntelliSense) – even more helpful when editing your code. At the same time, VS Code language support remains a never-ending journey of incremental improvement.
Help wanted – VS Code programmer
